Floorboards restoration
Bring worn boards back to life with targeted repairs, careful sanding, and protective finishing.
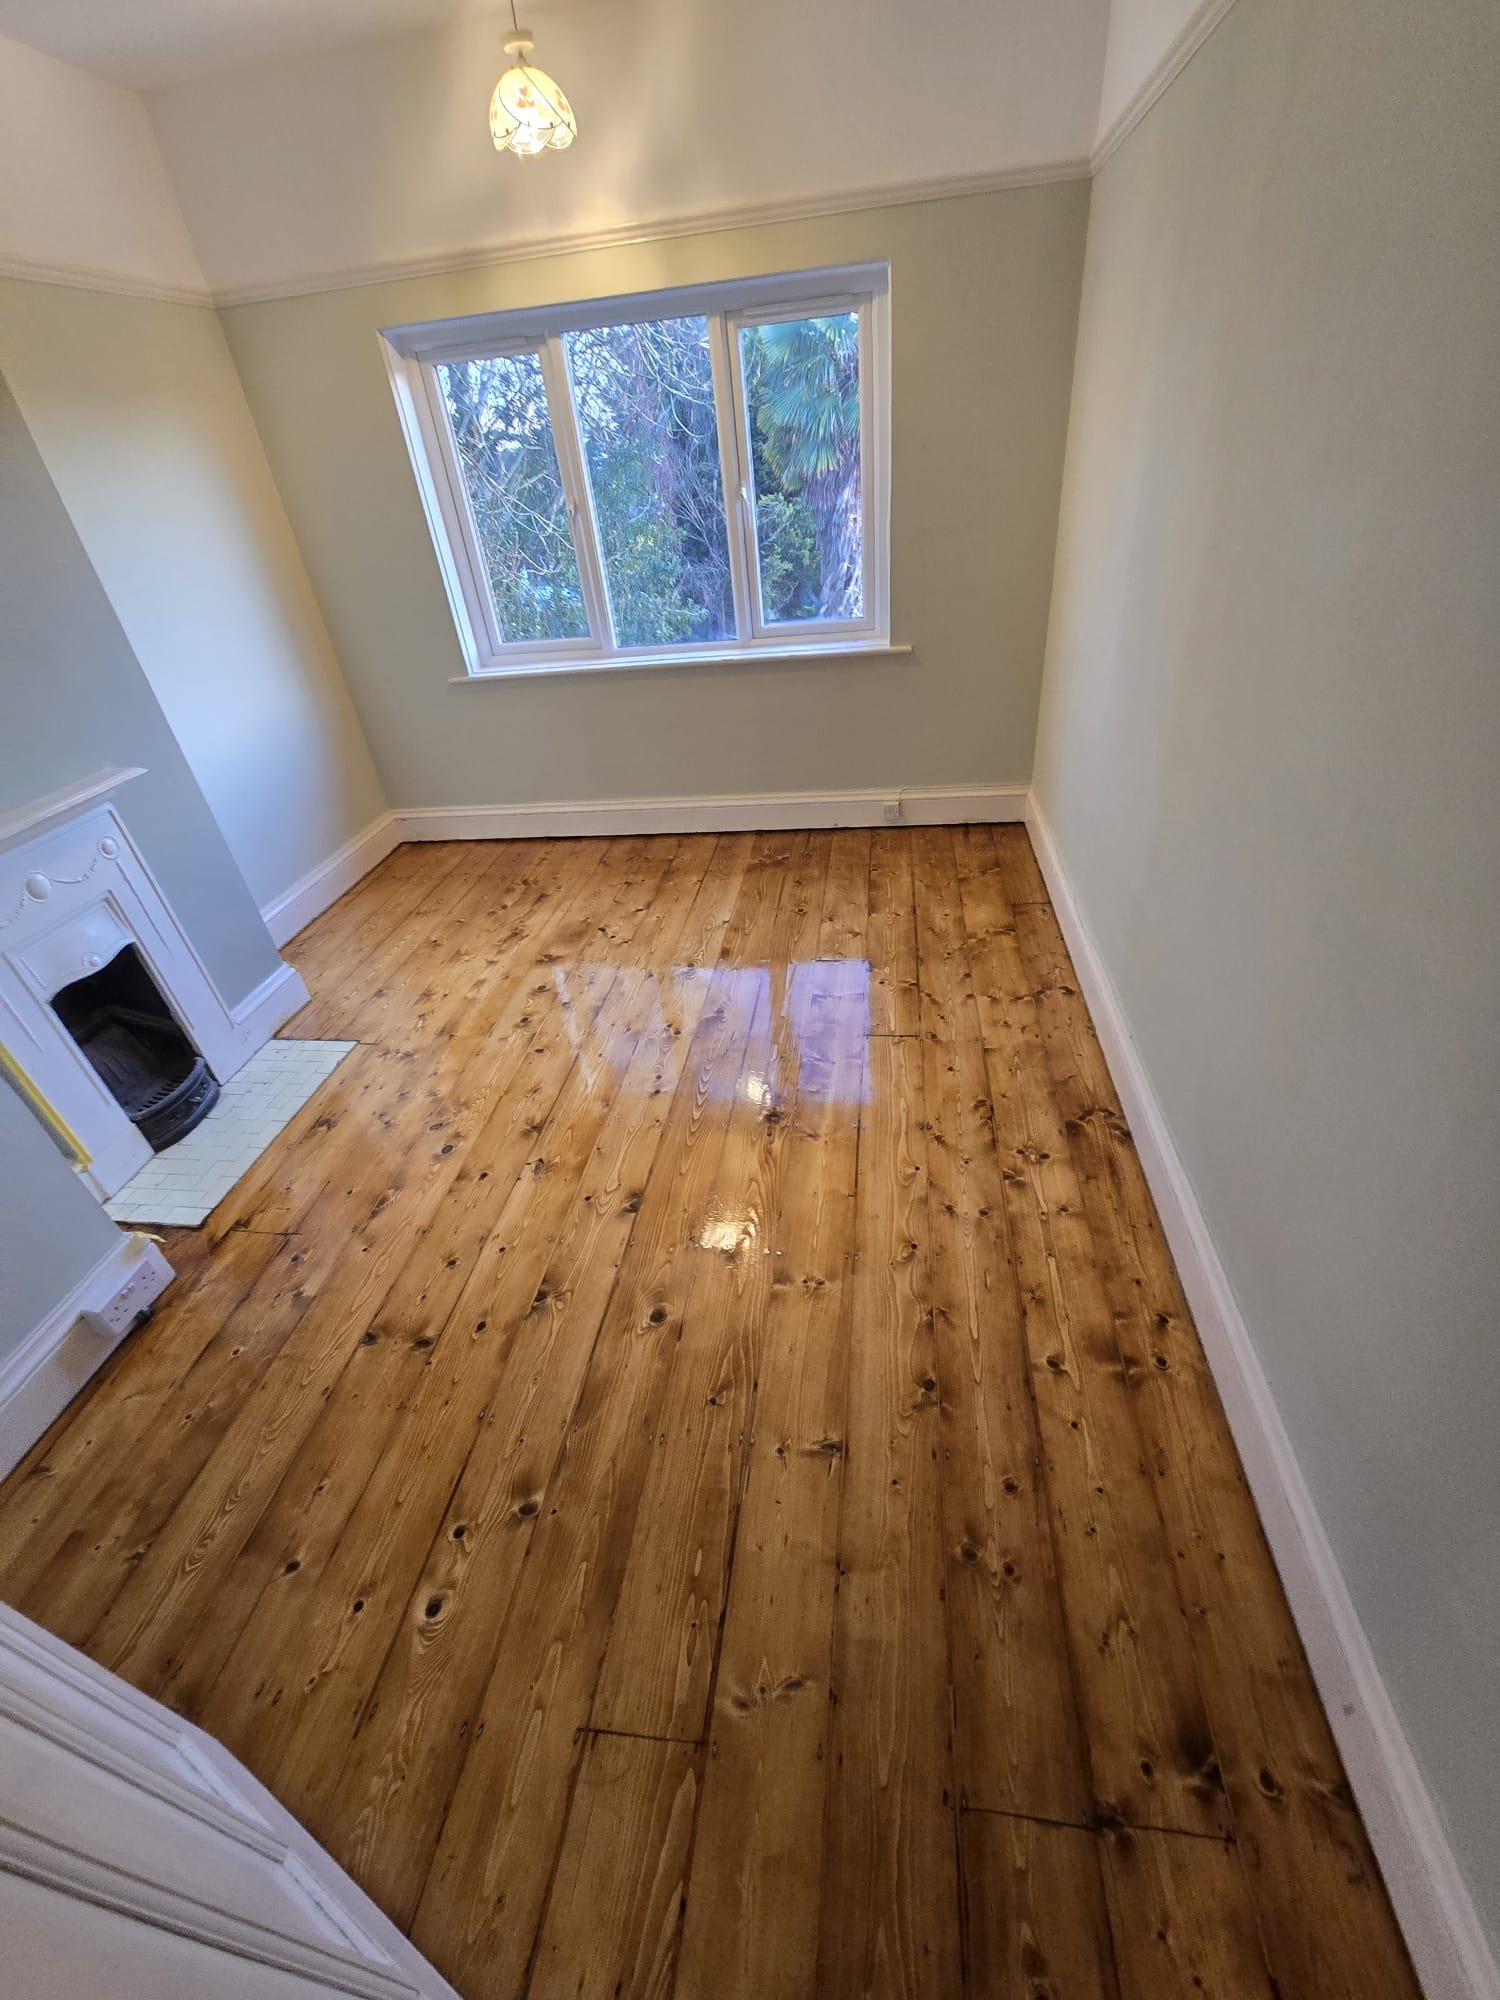
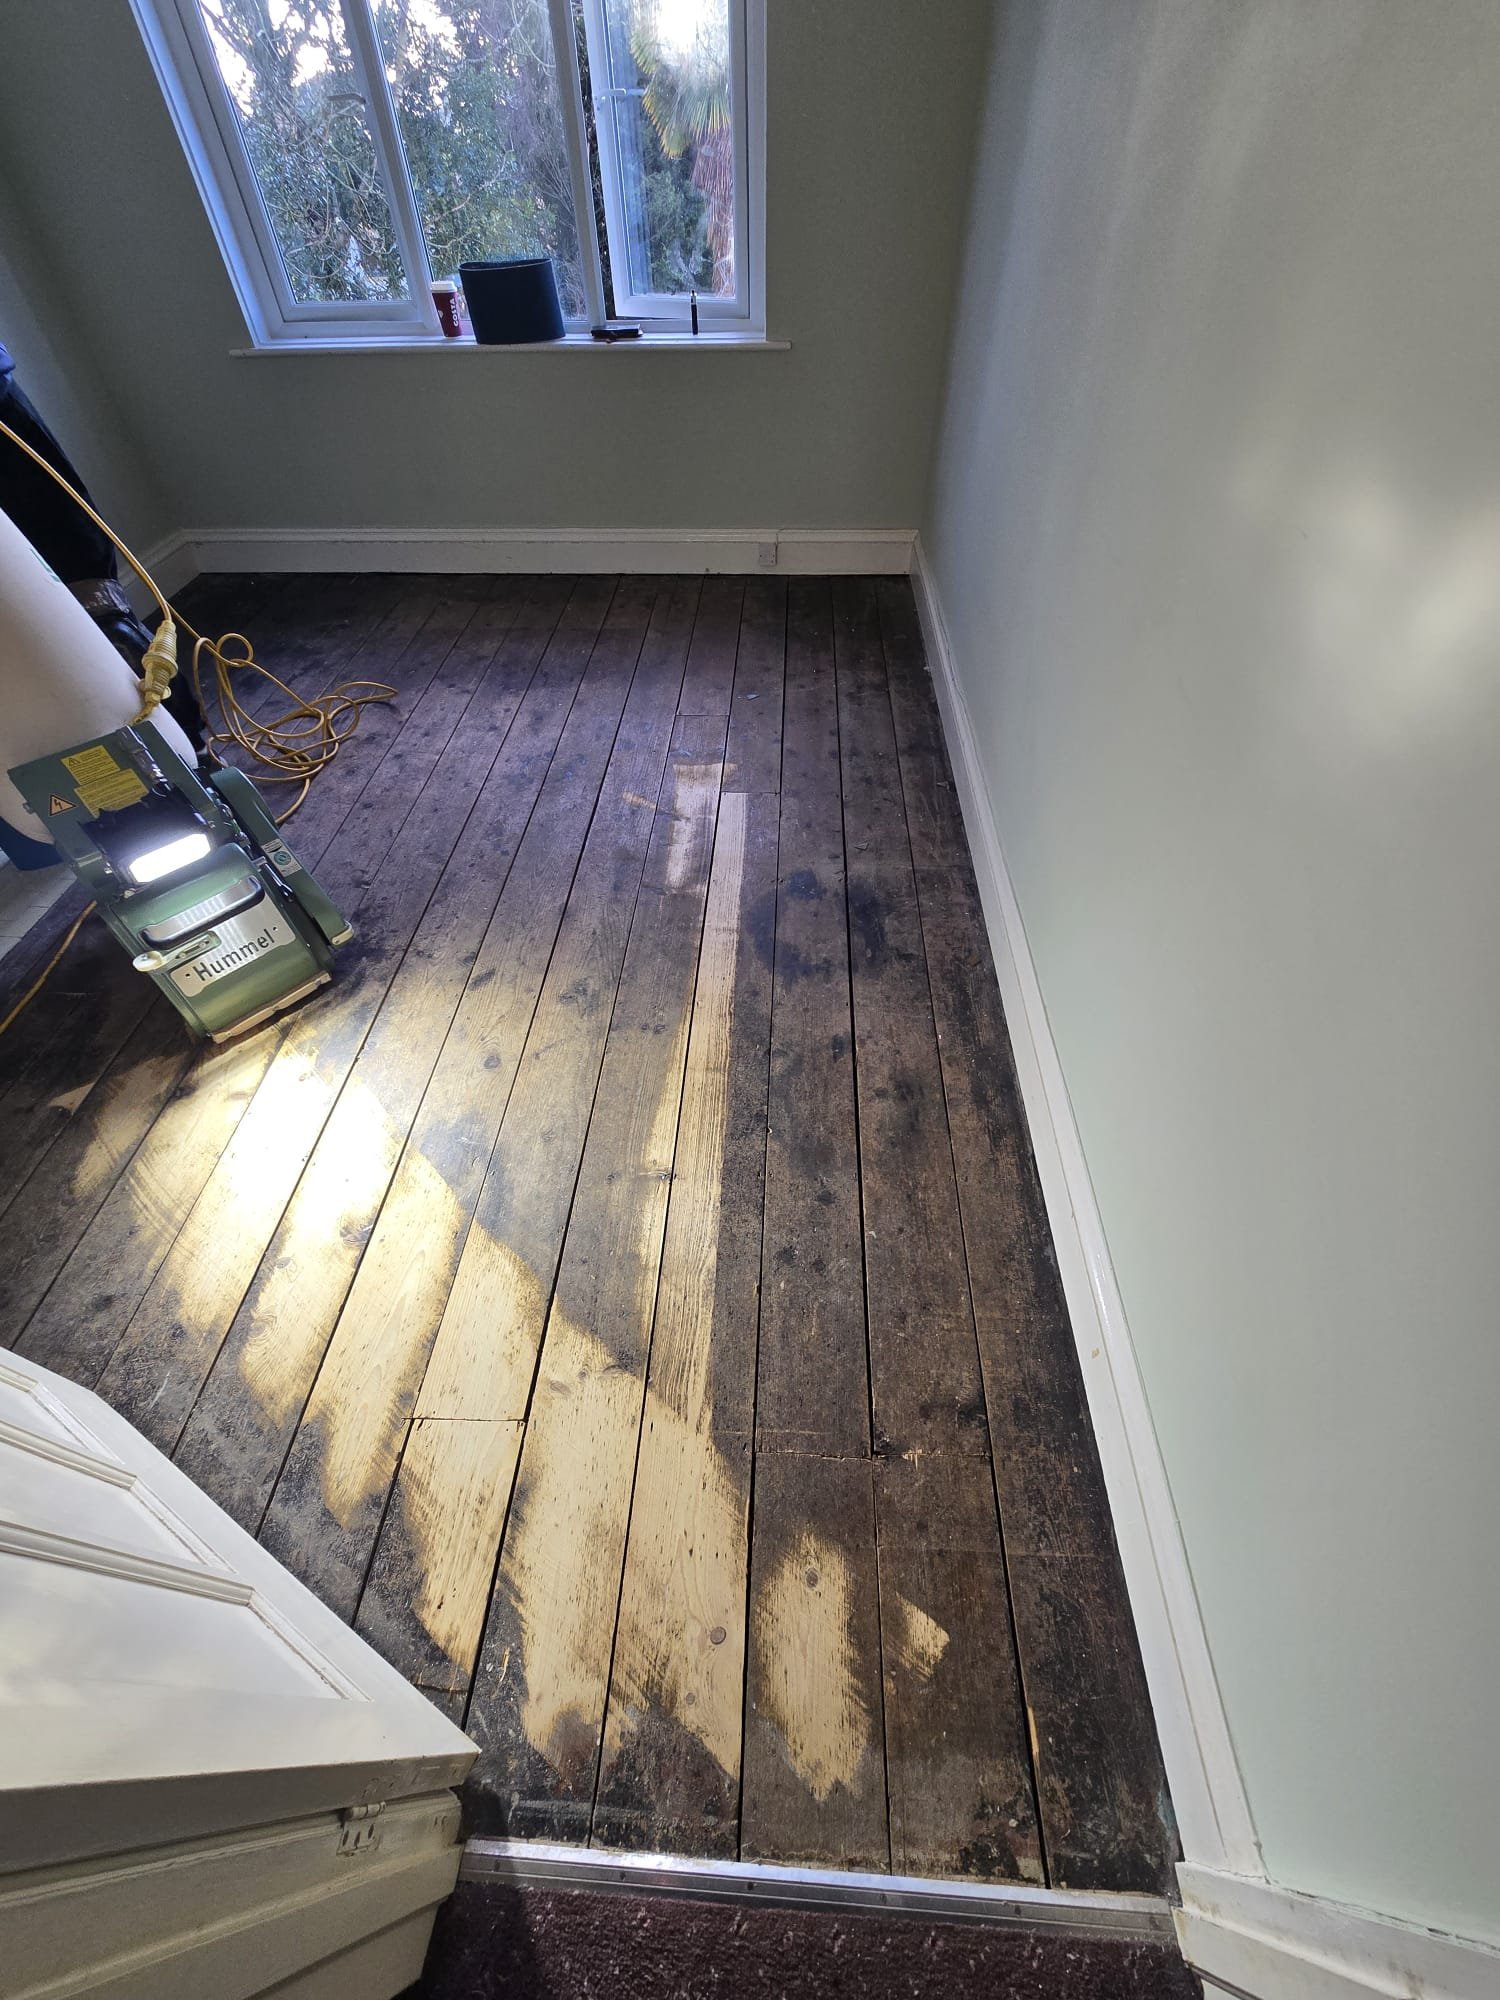
Drag the handle to compare before and after.
Surface preparation
Dust-controlled sanding
Sealed extraction and progressive grit work remove coatings and wear cleanly.
Targeted repairs
Gap fills, board fixes, and resin repairs stabilise the timber before finishing.
Surface checks
Moisture and level checks confirm the right finish system for your floor.
Finishing & protection
Colour testing
Stain samples approved on site for a consistent, personalised finish.
Durable sealing
Hardwax oils or lacquers layered for resilience and easy maintenance.
Aftercare guidance
Clear cleaning and maintenance advice to keep the floor looking its best.
Floorboards restoration process
- Step 1
Site preparation and protection of adjacent areas.
- Step 2
Progressive sanding sequence with dust extraction.
- Step 3
Repairs, staining, and colour approvals.
- Step 4
Protective sealing with staged curing and final polish.
Frequently asked questions
Can you replace damaged boards?
Yes. We can splice in matching boards and blend them with the surrounding floor.
Do you preserve original character?
We aim to retain the period look while stabilising and refining the surface.
Will you fill gaps between boards?
Yes. We can close gaps using slivers cut from reclaimed floorboards, along with a specialist filler mixed with dust from your own floorboards, to deliver a seamless finish.