Wood floor staining
Achieve the tone you want with on-site stain tests and layered protective finishes.
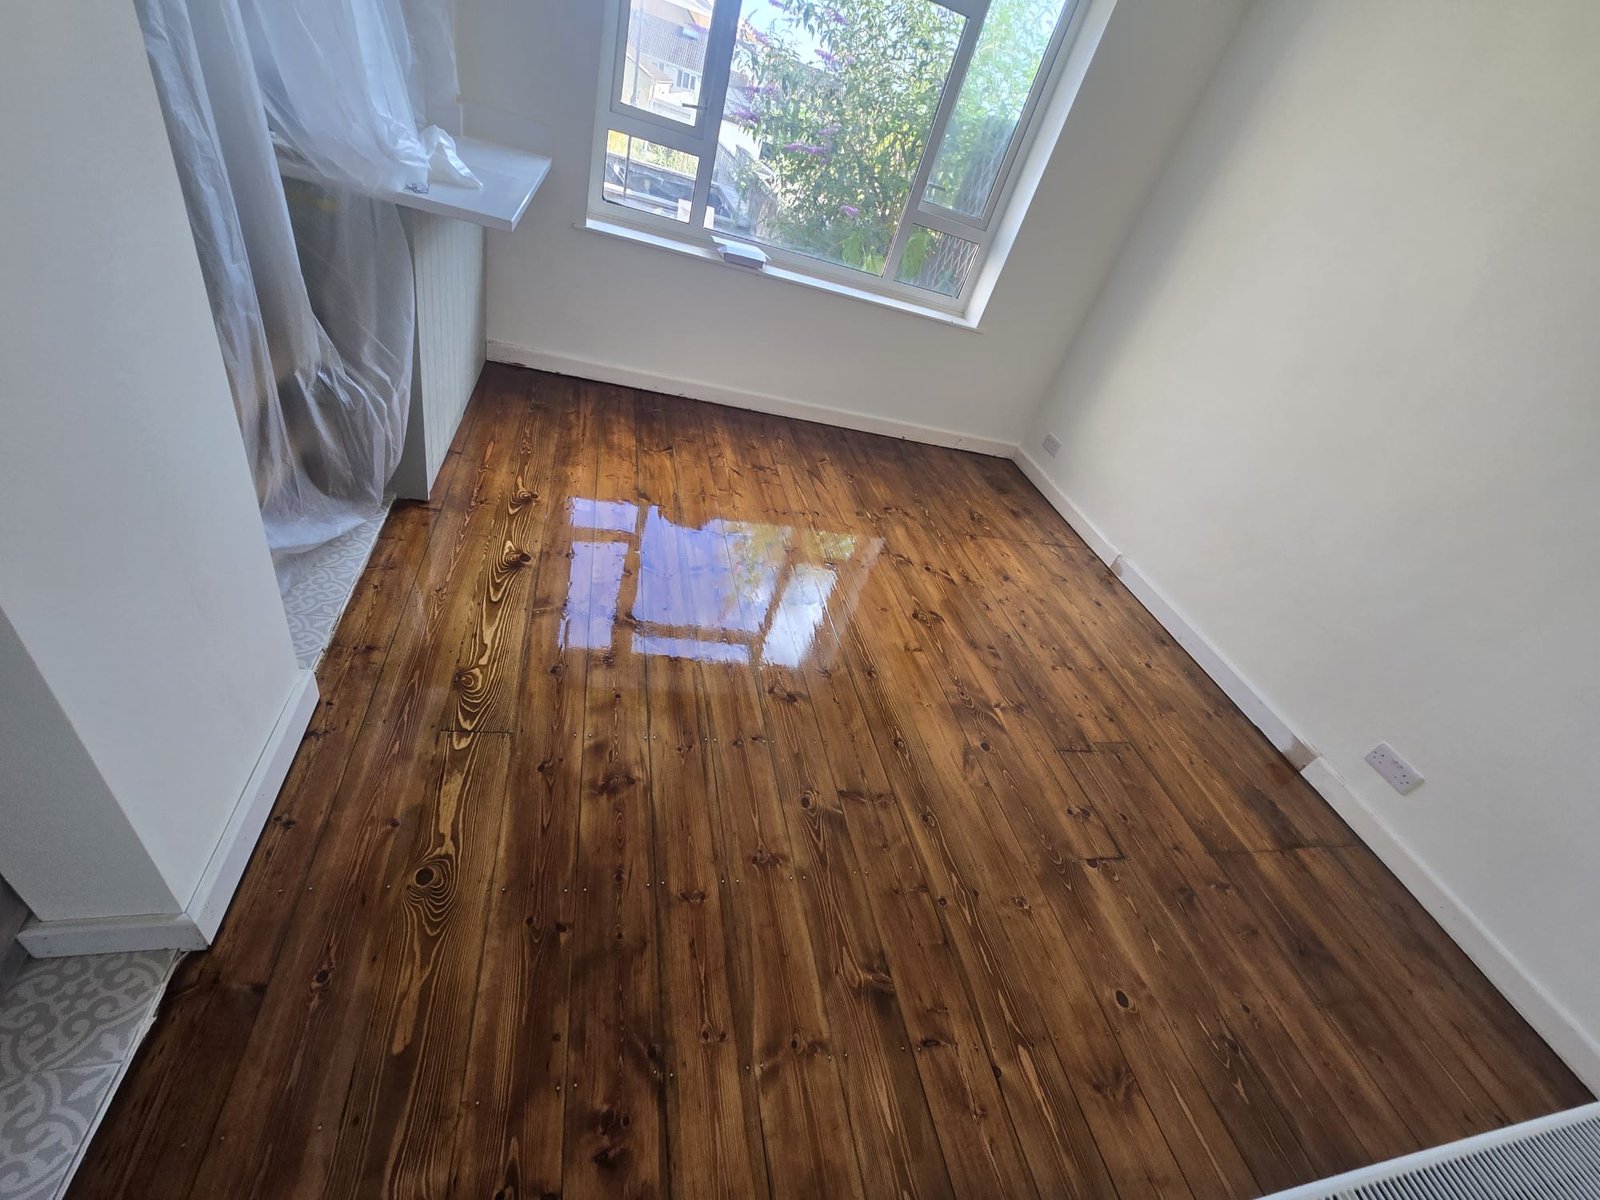
Drag the handle to compare before and after.
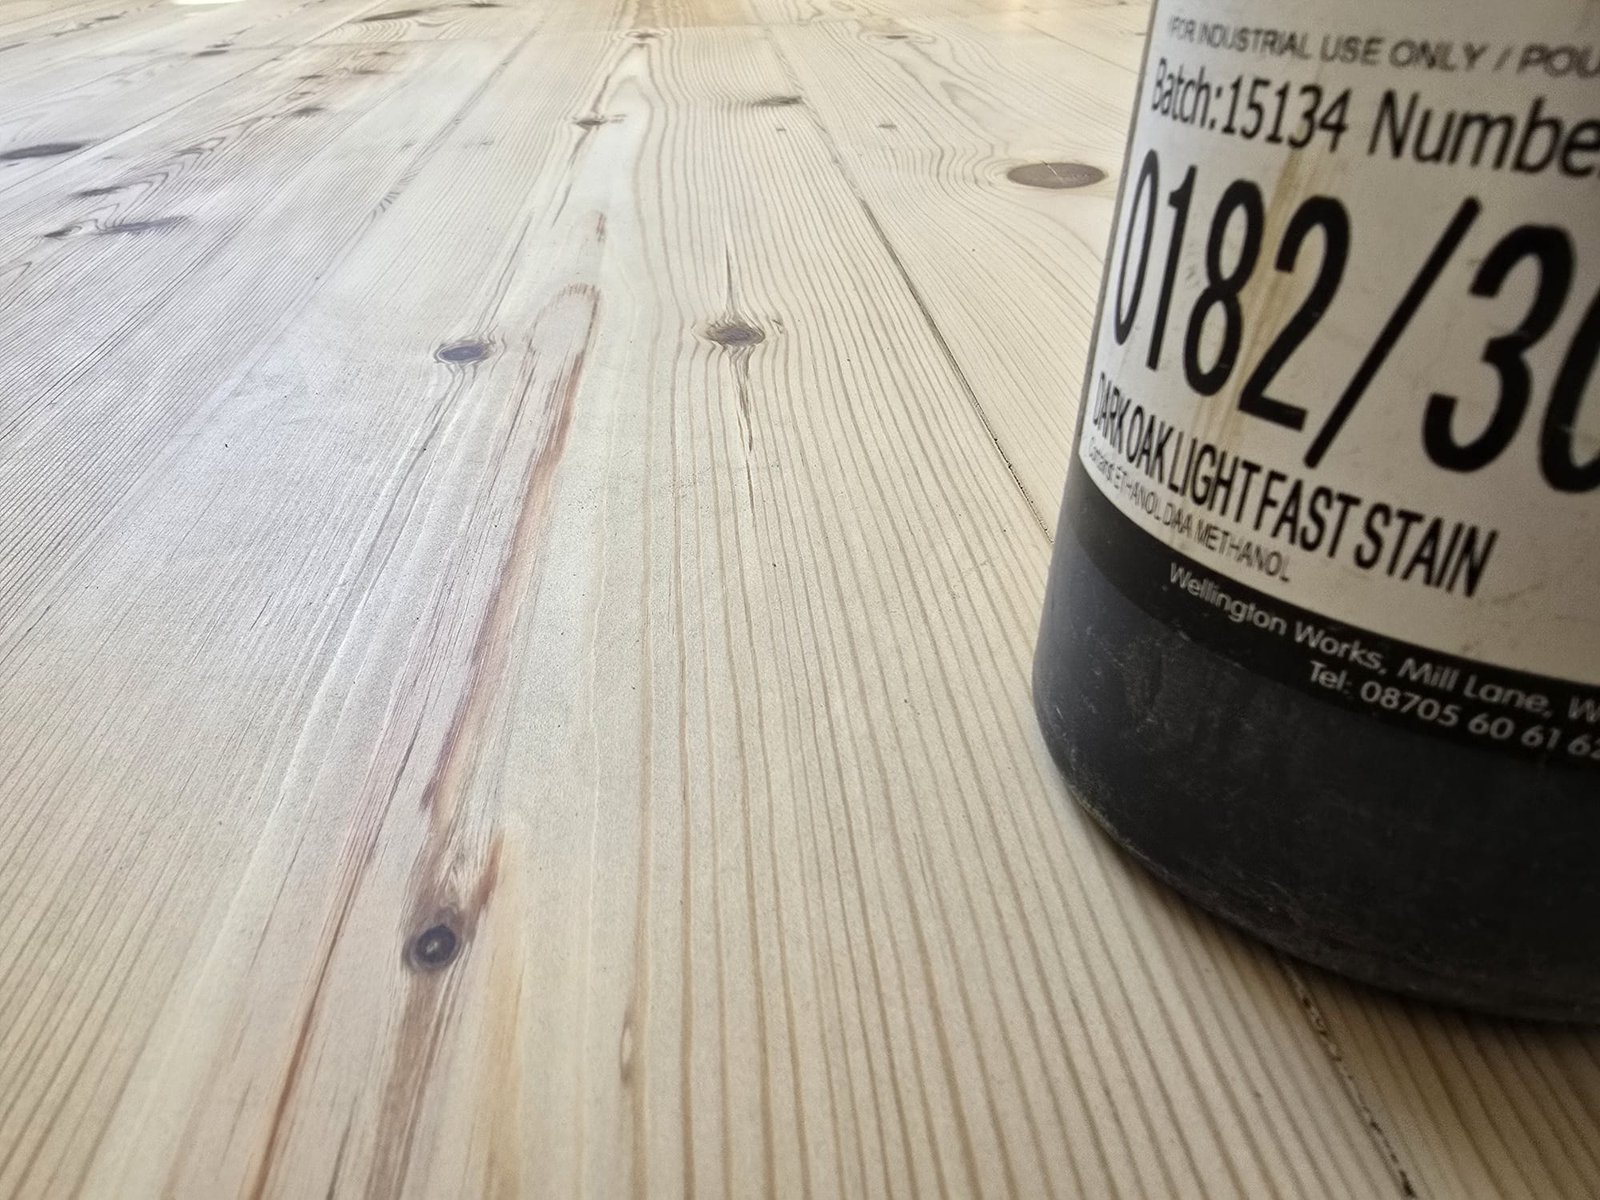
Color development
On-site sample swatch tests
Applying stain test patches directly onto your sanded floor to see how the timber absorbs pigments before color work starts.
Water popping pore open
Misting the raw timber floor with water to open wood grain pores, achieving a deep, rich, and uniform stain penetration.
Uniform hand application
Buffing stains into the floor by hand and machine to ensure a blotch-free, consistent color coverage.
Locking & protection
Polyurethane barrier coats
Applying specialist sealers that lock in the stain pigments and prevent bleeding into the top protective lacquer coats.
UV-resistant finishes
Top coat sealants that shield the stained timber from sun exposure and UV color fading.
Grain pop highlighting
Enhancing natural wood grain profiles using specialized pigment layers and high-durability primers.
Wood floor staining process
- Step 1
Sand the timber floor to a fine, uniform 120-grit finish and vacuum clean.
- Step 2
Perform water popping to raise wood grains and test stain color swatches on site.
- Step 3
Buff the approved stain pigment into the timber for a streak-free, solid base.
- Step 4
Apply barrier seal coats followed by protective polyurethane lacquer or hardwax oil layers.
Ready to transform your floors?
Get in touch with our team today for expert advice, a professional on-site assessment, or a free, no-obligation quote tailored to your property.
Request a flooring quoteFrequently asked questions
Can you match an existing stain?
Yes. We create test samples on site to achieve the closest possible match.
Will staining change the grain appearance?
Stains enhance grain contrast. We show samples so you can approve the final look.
Do you seal the floor after staining?
Yes. We apply protective coats to lock in colour and add durability.