Floorboards restoration
Bring worn boards back to life with targeted repairs, careful sanding, and protective finishing.
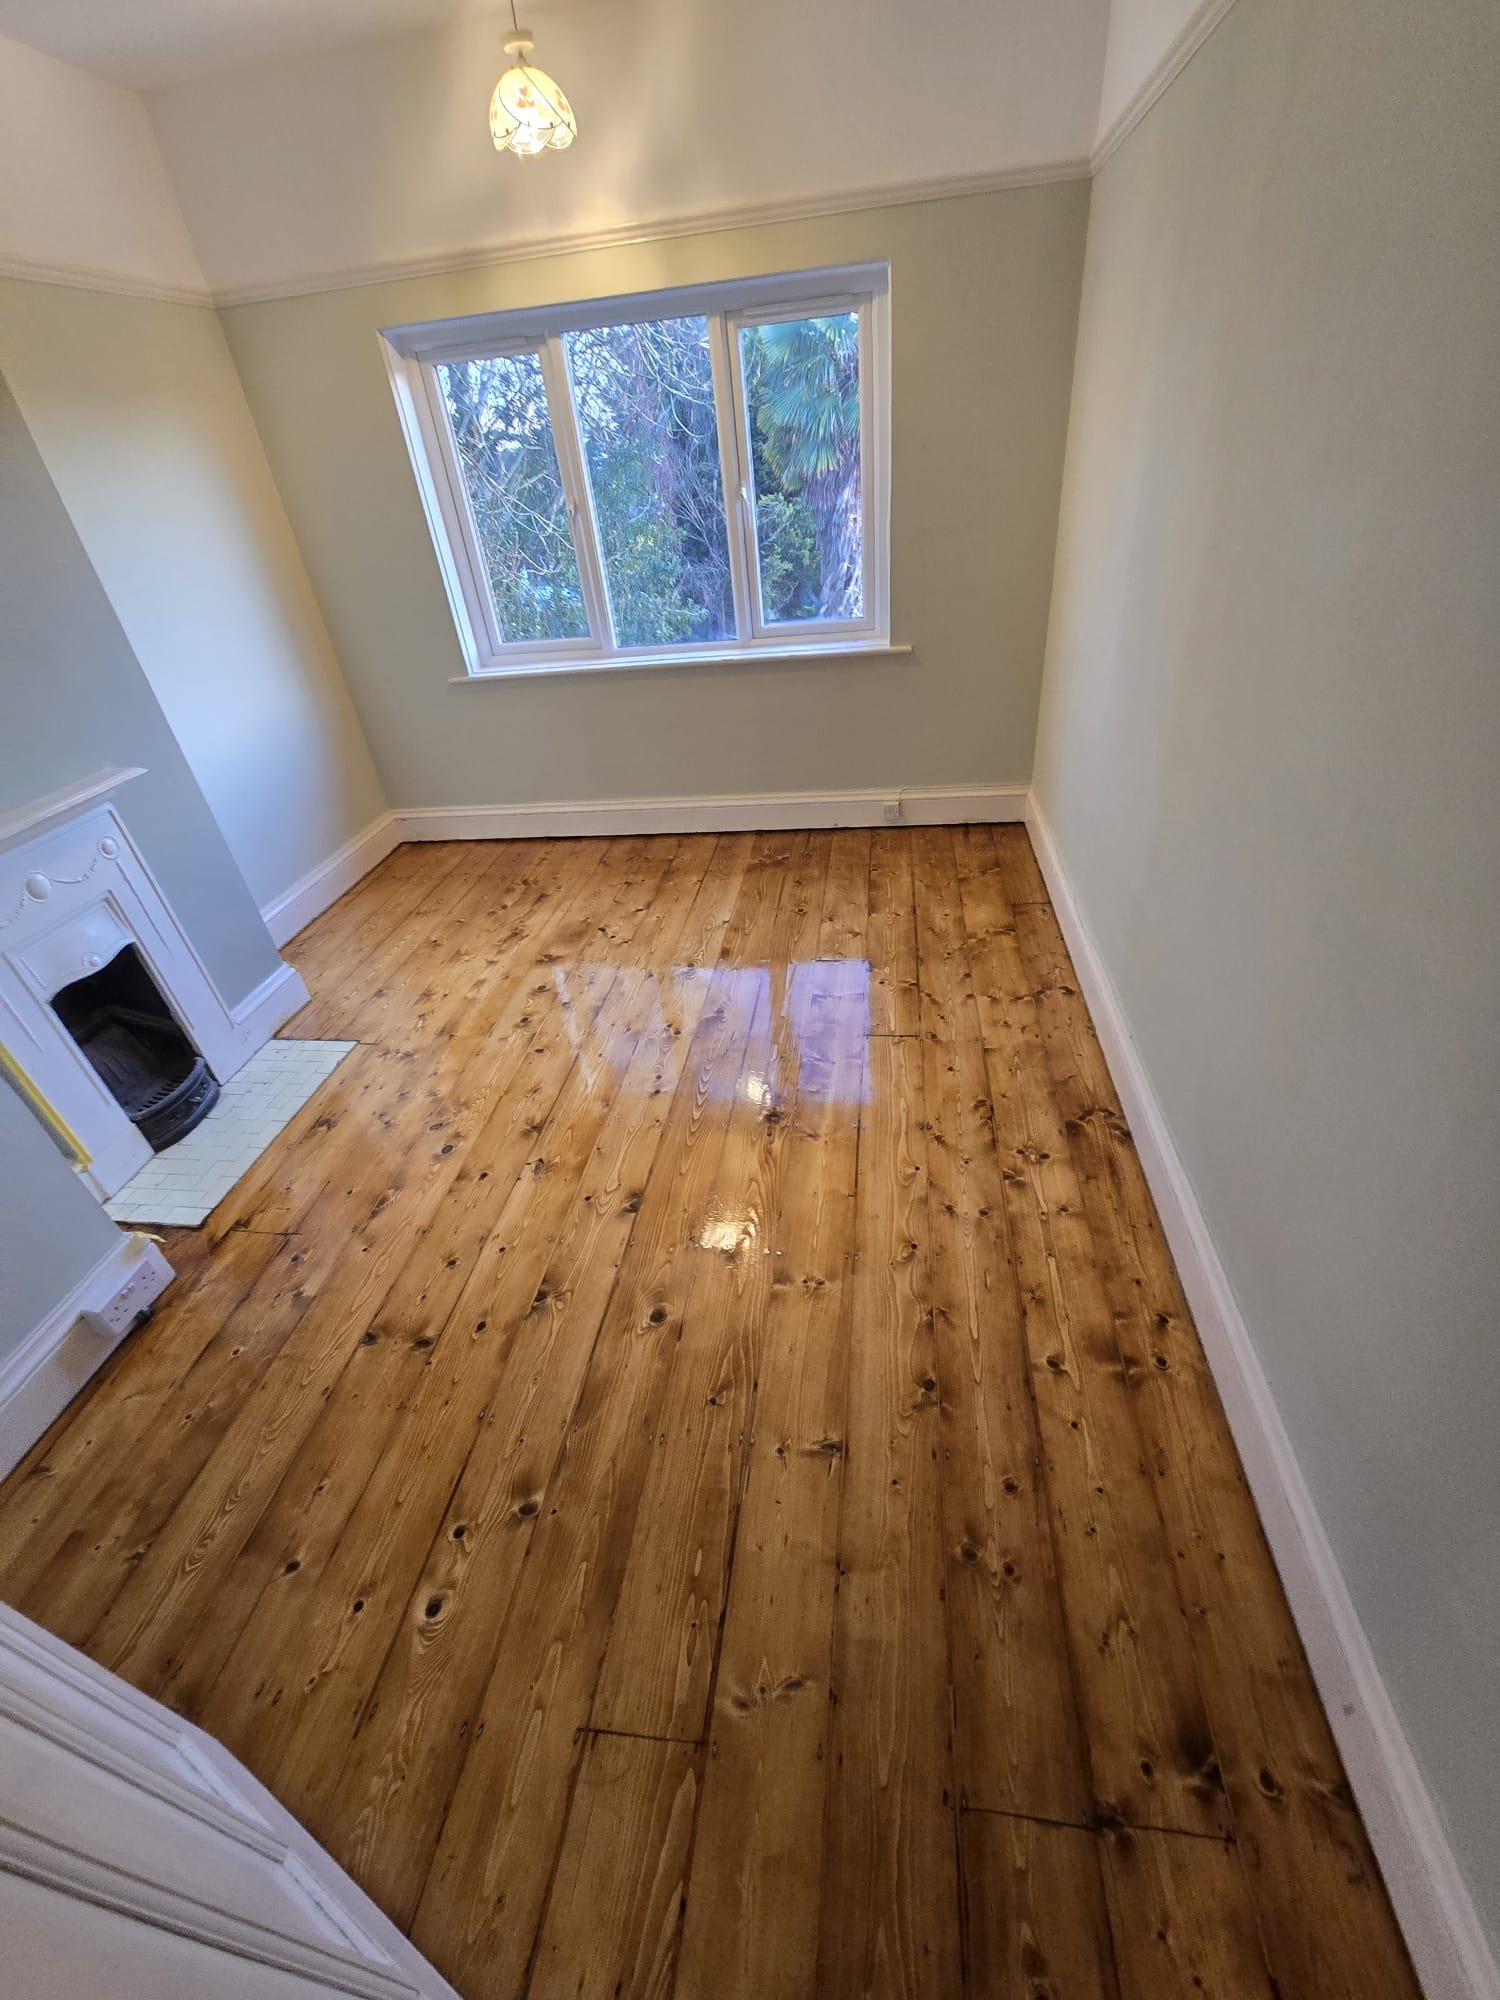
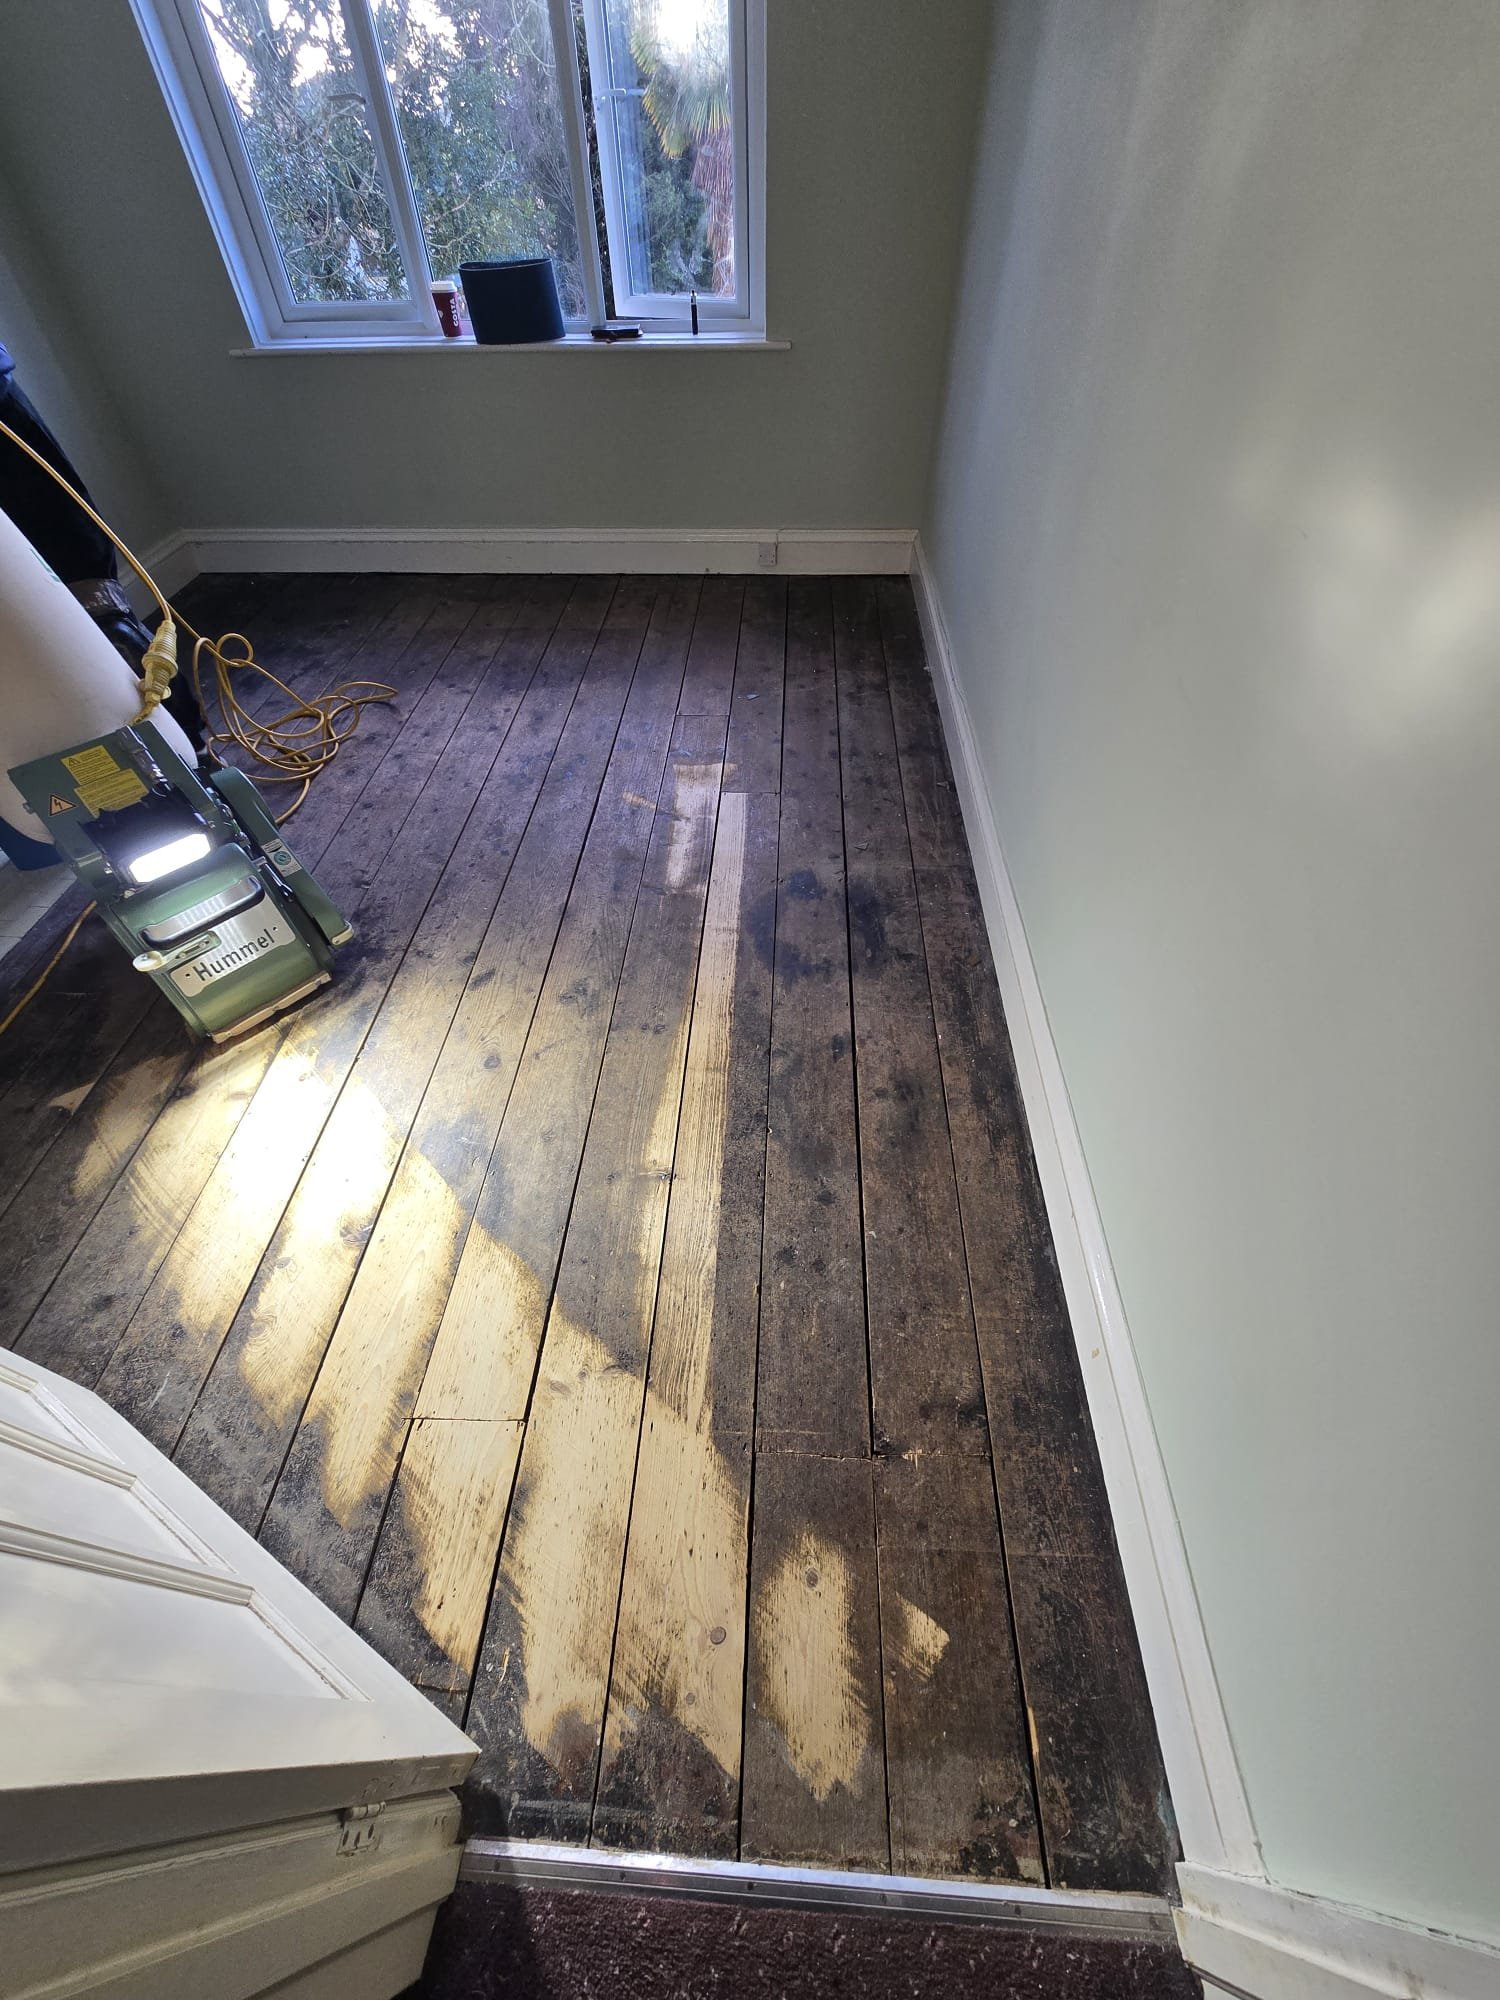
Drag the handle to compare before and after.
Structural board preparation
Squeak & loose fixes
Securing loose pine floorboards to joists using countersunk screws or ring-shank nails to eliminate creaks.
Nail punching & sinking
Driving exposed nail heads below the timber surface to protect sanding belts and create a smooth profile.
Reclaimed board splicing
Replacing split, damaged, or modern wood patches with matching reclaimed, antique pine floorboards.
Sanding & gap filling
Progressive drum sanding
Leveling cupped or uneven boards using heavy-duty progressive grit sanding machines.
Timber sliver gap fills
Gluing tapered timber wedges (pine slivers) into wide board gaps to permanently block cold draughts.
Stain & seal finishing
On-site colour tests followed by protective hardwax oils or clear polyurethane lacquers.
Floorboards restoration process
- Step 1
Identify loose floorboards, punch nail heads, and splice in reclaimed matching timber.
- Step 2
Execute diagonal progressive drum sanding passes to level cupped pine boards.
- Step 3
Hammer and glue timber slivers into wide gaps and fill minor cracks with resin-dust paste.
- Step 4
Final fine sanding, vacuuming, on-site colour matching, and applying protective finishes.
Ready to transform your floors?
Get in touch with our team today for expert advice, a professional on-site assessment, or a free, no-obligation quote tailored to your property.
Request a flooring quoteFrequently asked questions
Can you replace damaged boards?
Yes. We can splice in matching boards and blend them with the surrounding floor.
Do you preserve original character?
We aim to retain the period look while stabilising and refining the surface.
Will you fill gaps between boards?
Yes. We can close gaps using slivers cut from reclaimed floorboards, along with a specialist filler mixed with dust from your own floorboards, to deliver a seamless finish.