Floor Insulation & Sound Proofing
Underlays and treatments that improve comfort and reduce noise transfer.
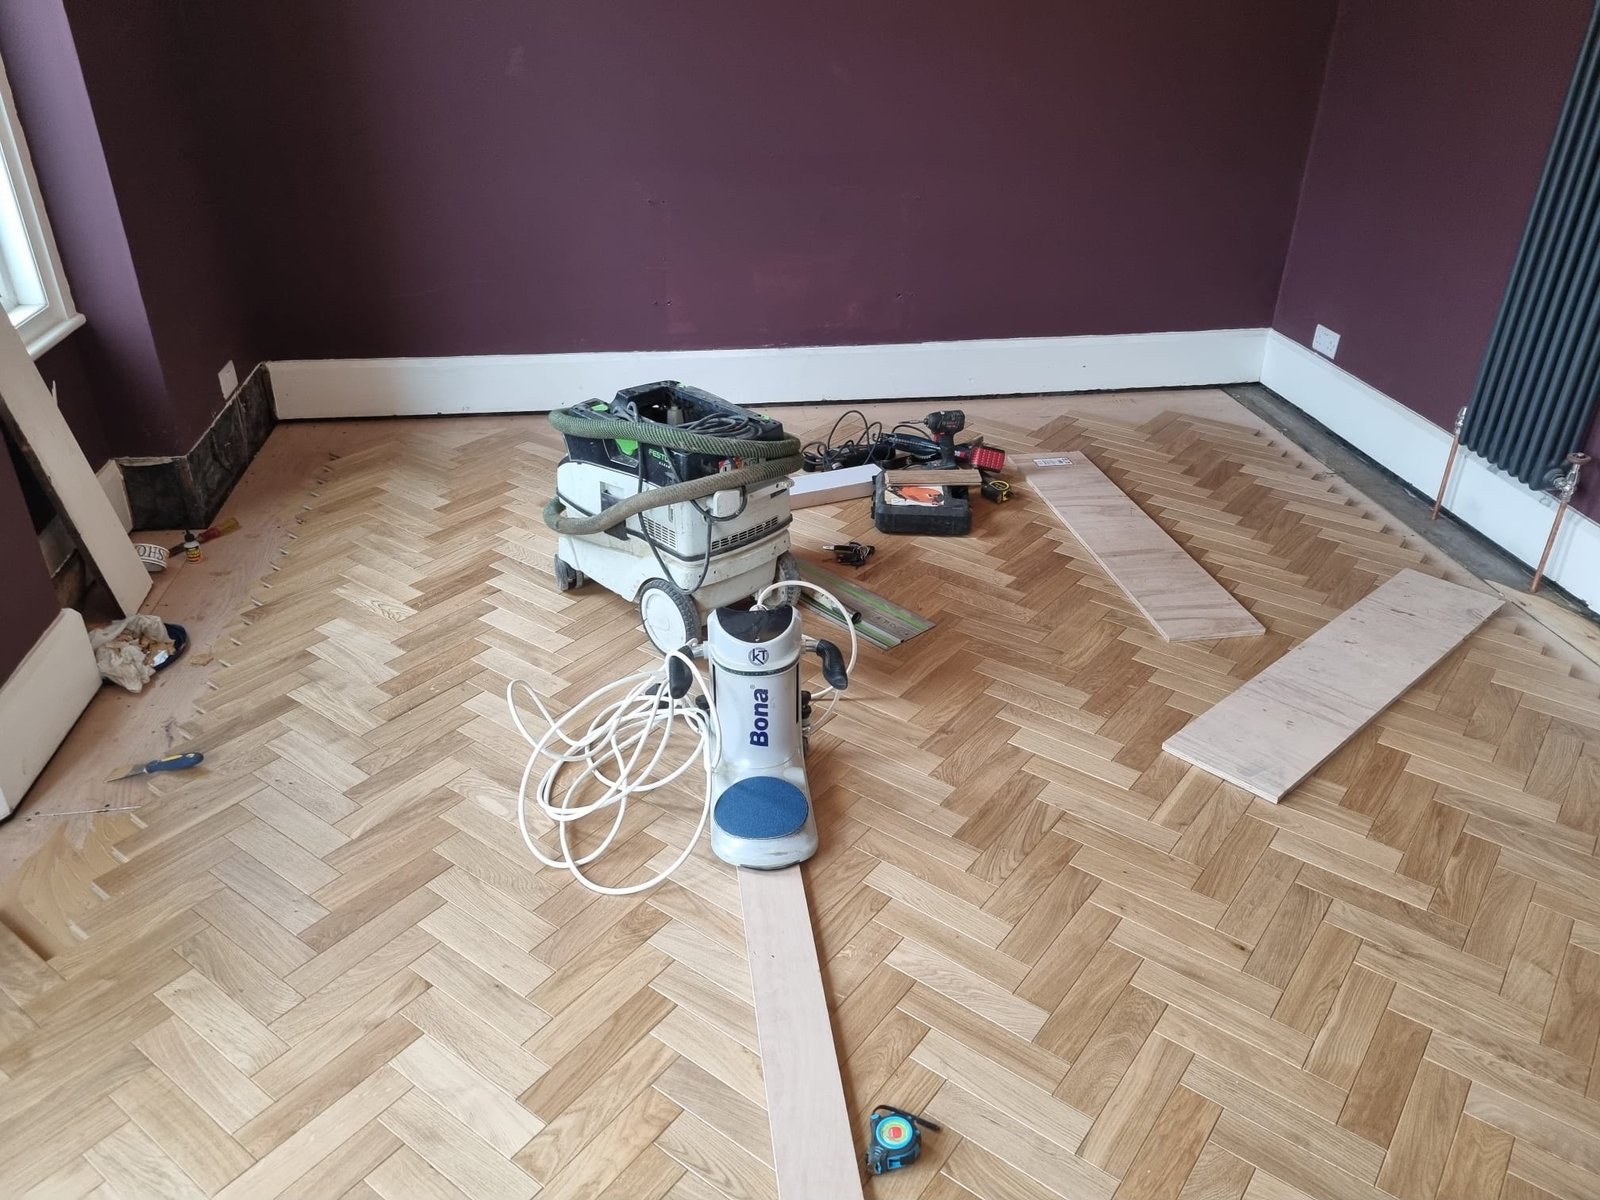
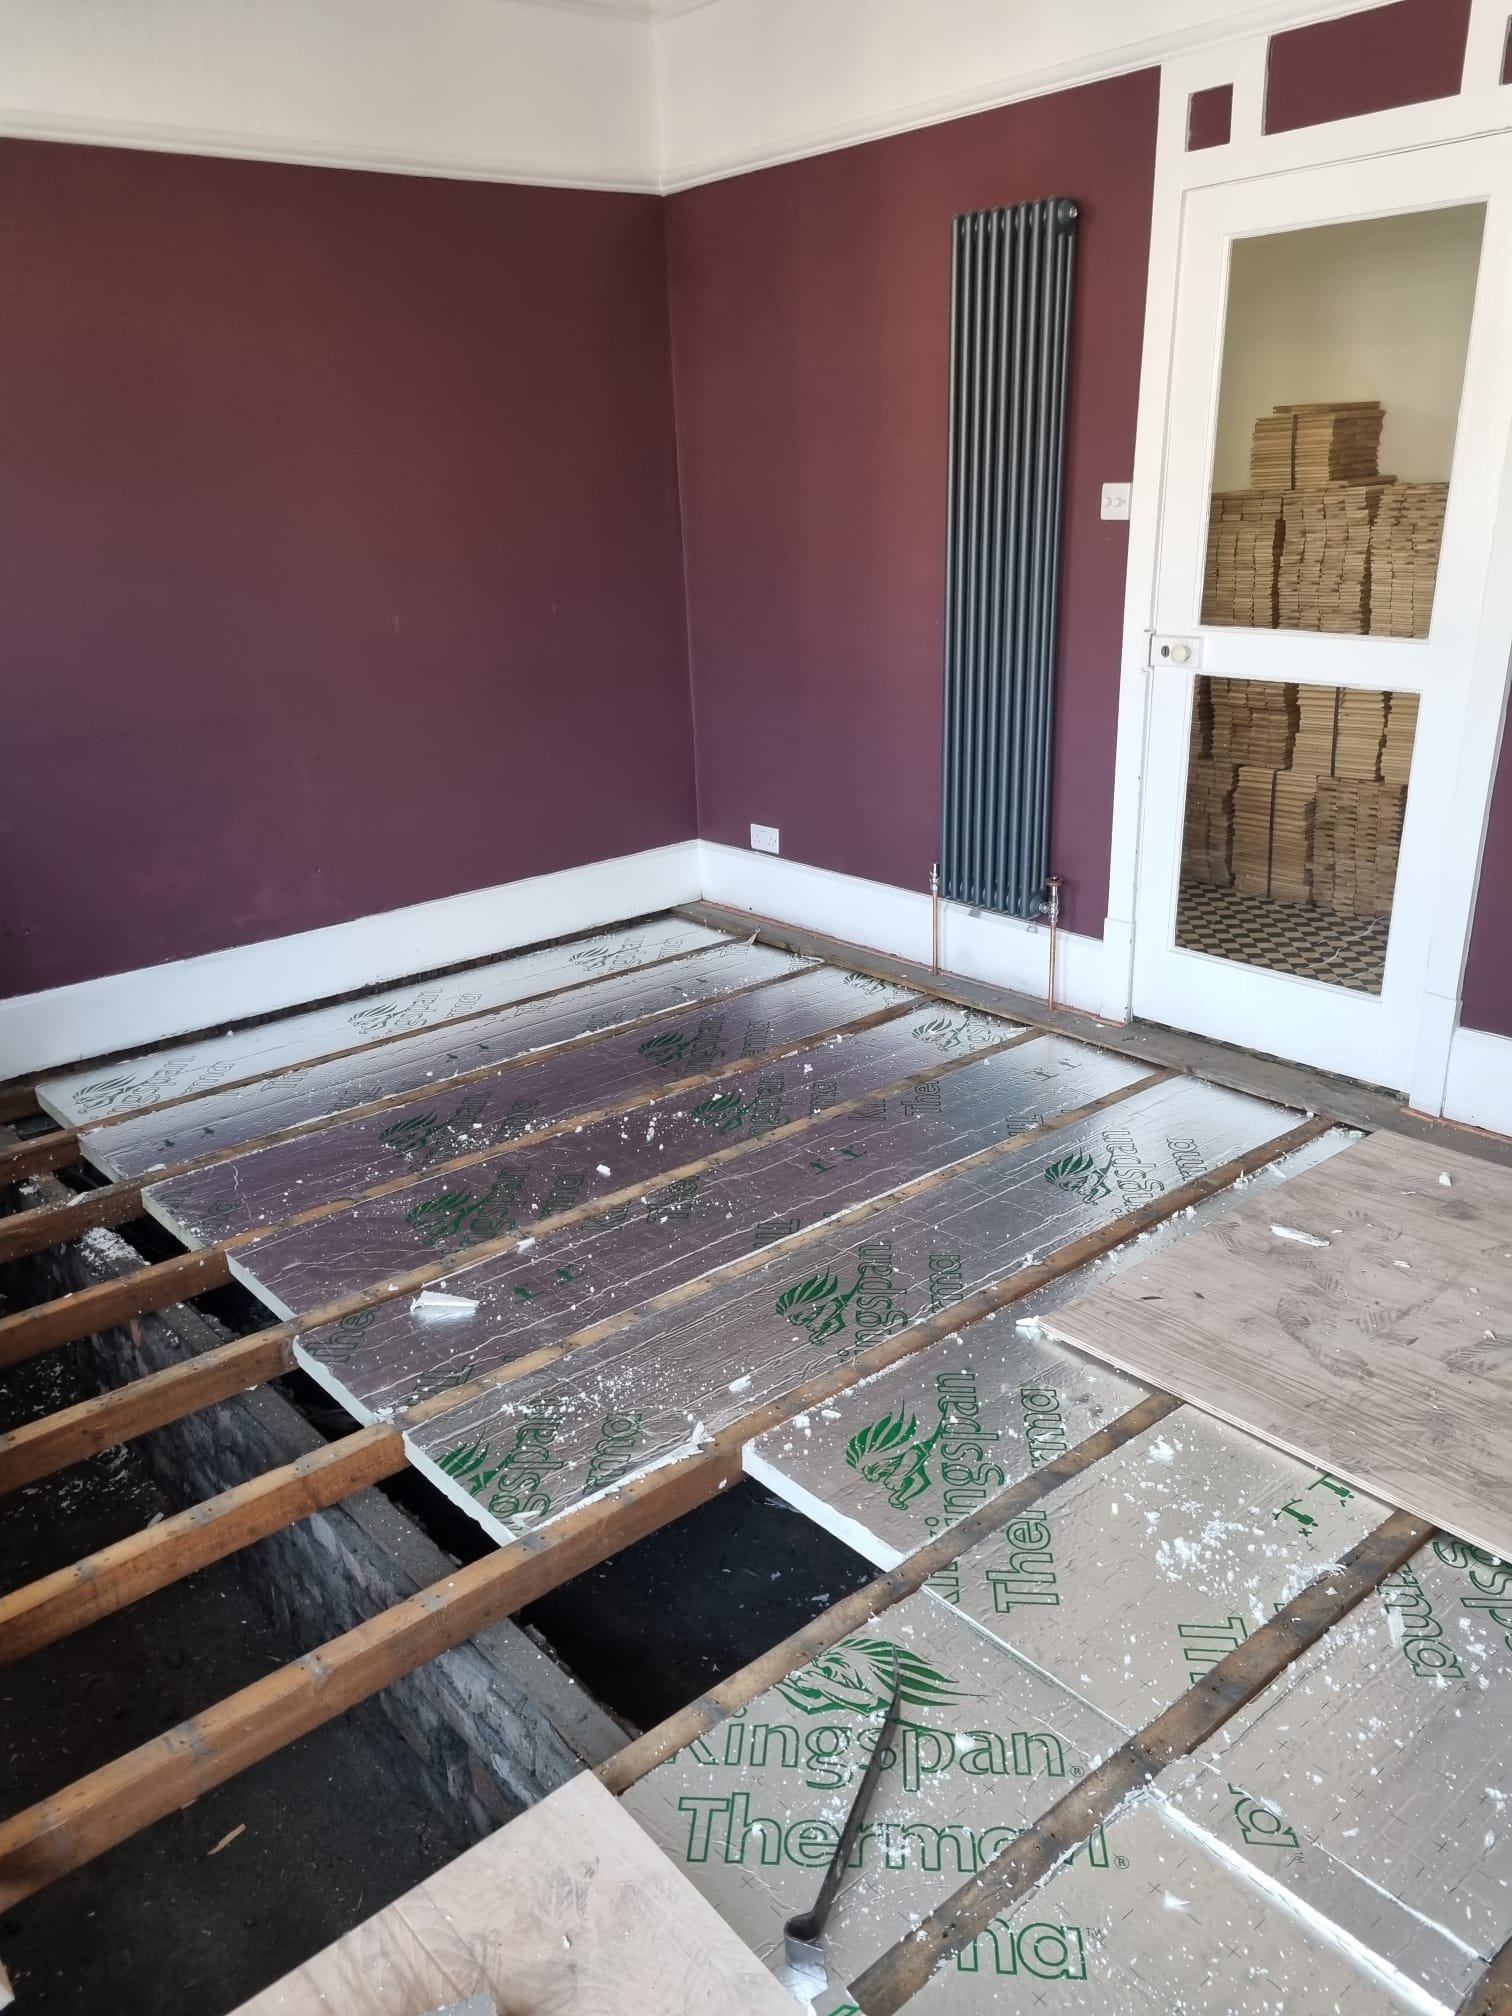
Drag the handle to compare before and after.
Preparation & planning
On-site survey
Detailed measurements and layout planning ensure every board lands exactly where it should.
Plan confirmation
Board direction, layout details, and installation sequence are finalised with you before fitting starts.
Subfloor readiness
Levelling, damp-proofing, and acoustic underlays matched to your floor specification.
Installation detail
Method matched to your floor
Nail, glue, or clip systems recommended for each room and material.
Precision finishing
Door casings undercut, trims hand-scribed, and thresholds aligned for a seamless finish.
Client handover
Protective coverings, cleaning guidance, and aftercare plans delivered before we leave site.
Floor Insulation & Sound Proofing process
- Step 1
Initial consultation, design guidance, and quotation.
- Step 2
Finalise plans with customer and prepare the subfloor and area for installation.
- Step 3
Precise installation with continuous quality checks.
- Step 4
Finishing touches, clean-down, and personalised care advice.
Frequently asked questions
What options reduce impact and airborne noise?
We use acoustic underlays, isolation layers, and insulation tailored to the floor build-up.
Will insulation raise the floor height?
Usually only slightly. We keep the build-up as slim as possible while meeting performance goals.
Can you improve thermal comfort as well?
Yes. We can add thermal layers to reduce heat loss and improve room comfort.