Gap filling
Reduce draughts and movement with resin or sliver fills applied before sealing.
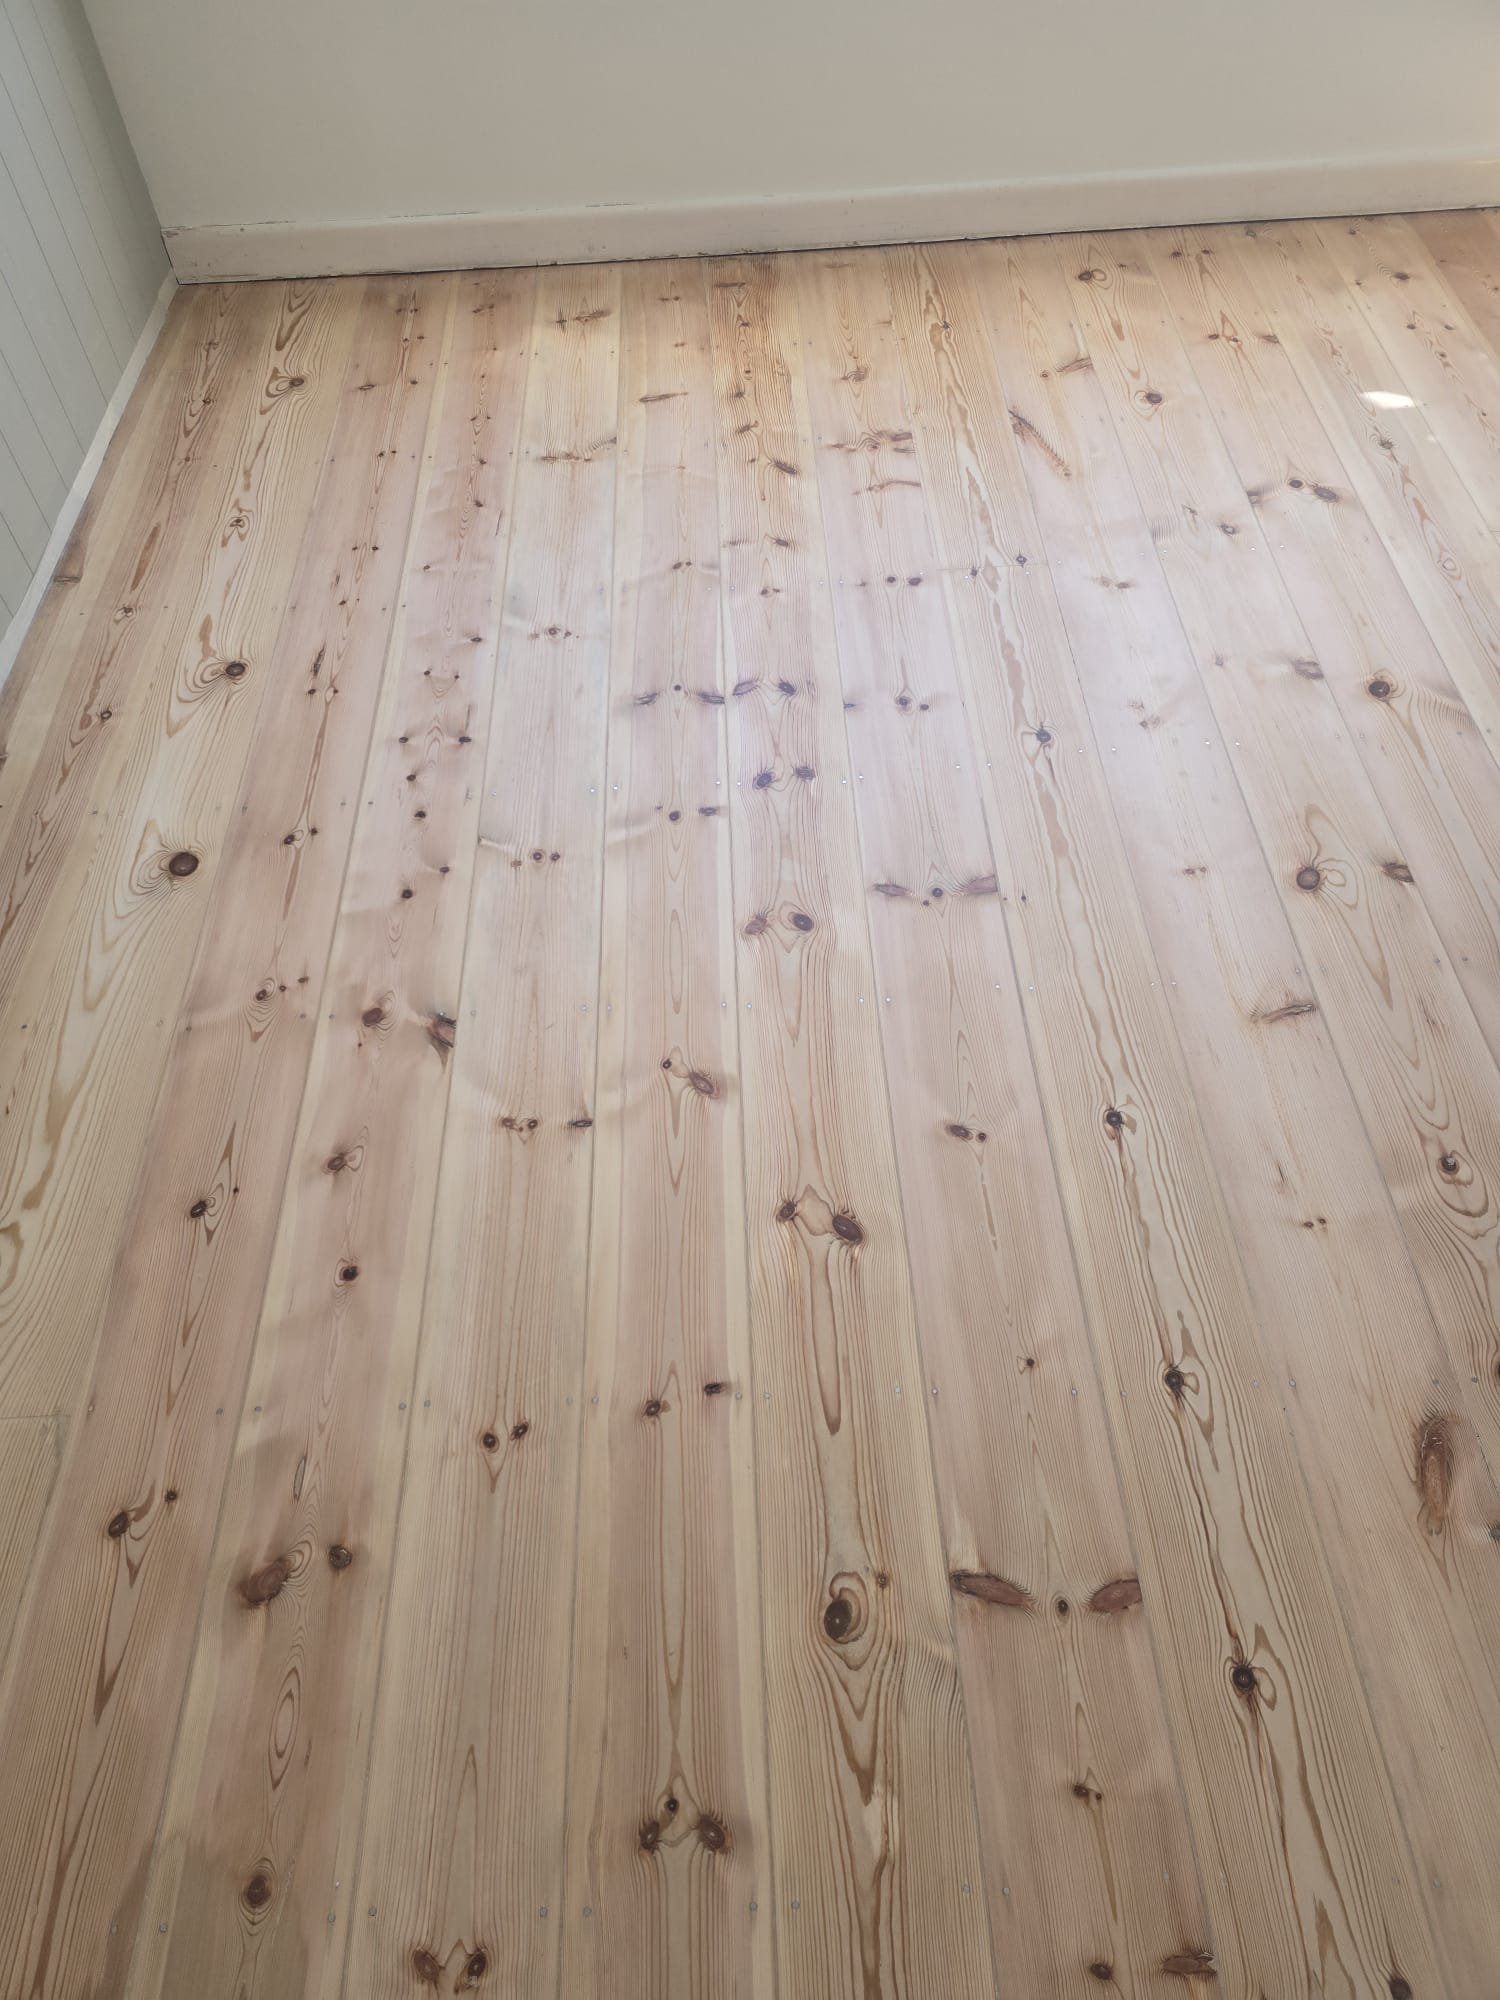

Drag the handle to compare before and after.
Surface preparation
Dust-controlled sanding
Sealed extraction and progressive grit work remove coatings and wear cleanly.
Targeted repairs
Gap fills, board fixes, and resin repairs stabilise the timber before finishing.
Surface checks
Moisture and level checks confirm the right finish system for your floor.
Finishing & protection
Colour testing
Stain samples approved on site for a consistent, personalised finish.
Durable sealing
Hardwax oils or lacquers layered for resilience and easy maintenance.
Aftercare guidance
Clear cleaning and maintenance advice to keep the floor looking its best.
Gap filling process
- Step 1
Site preparation and protection of adjacent areas.
- Step 2
Progressive sanding sequence with dust extraction.
- Step 3
Repairs, staining, and colour approvals.
- Step 4
Protective sealing with staged curing and final polish.
Frequently asked questions
What filler do you use for gaps?
We use resin and wood dust blends, water-based fillers, or flexible fillers depending on gap size and floor type.
Is gap filling suitable for old floorboards?
Yes. Gap filling is especially effective for Victorian and Edwardian floorboards, commonly found in UK homes.
How long does gap filling take?
Gap filling is typically completed within the same timeframe as floor sanding, usually 1-2 days depending on floor condition.
Will the gaps return over time?
Seasonal movement can re-open gaps. We advise the best approach for your floor.
Is gap filling done before finishing?
Yes. We fill after sanding and before final coats for a consistent finish.